The 10 Best Micrometers

This wiki has been updated 46 times since it was first published in September of 2015. An essential instrument for mechanical engineers and machinists, these micrometers and digital calipers provide the accurate readings that are necessary to keep all kinds of equipment adjusted according to their delicate tolerances. Our rankings includes a range of options, from budget-friendly selections for casual hobbyists to top-end models intended for professionals. When users buy our independently chosen editorial selections, we may earn commissions to help fund the Wiki.
Editor's Notes
April 14, 2021:
After taking some time to review our existing selections and browse through some of the alternate models currently offered on the market, we moved through this round of updates without making any modifications to our list. With a nice mix of options that we believe will meet the needs of most of our users, we saw no need to go mucking about with things, and so decided to leave these rankings whole, at least until our next round of updates.
For further precision measuring solutions, check out our lists of angle gauges, laser measures and digital levels.
January 20, 2020:
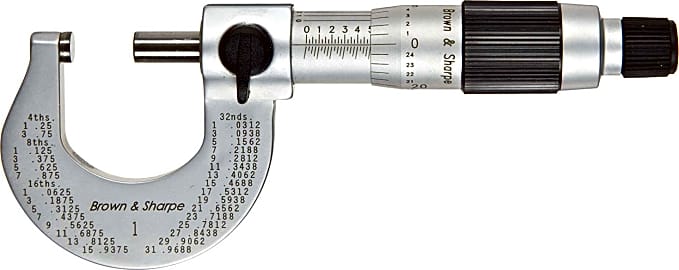
During this round of updates, the majority of our previous selections managed to maintain their positions. However, we did add the Brown & Sharpe 599-1-31 to our rankings – an instrument from a reputable brand that makes up for its lack of digital display with its outstanding construction, and we replaced the Carrera CP8812-T with the Fowler 52-224-001-0 – believing that the latter offering presented better bang for buck than the former.
A few factors to measure while shopping in this category:
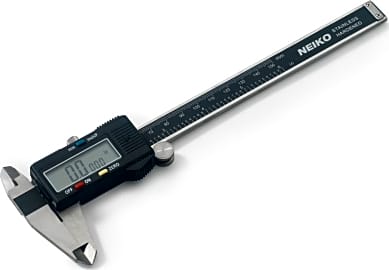
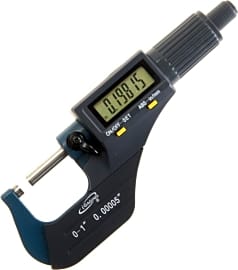
Measurement Type and Range: While some of our selections – like the Anytime Premium Machinist and iGaging Large Display Digital – are limited by designs that only allow for outside measurements of material (for example, measuring a pipe’s external diameter), other offerings – like the Neiko 01407A Steel and Mitutoyo 500-196-30 – have provisions that allow them to also to take inside measurements (for example, measuring a pipe’s internal diameter).
Additionally, micrometers are limited by their range of measurement. The Fowler 52-224-001-0, for example, is only capable of taking measurements between zero and one inch, but alternate models from the brand can measure between one and two inches, or between two and three inches. Though some professionals regard larger ranges of measurement as a red flag for lower levels of accuracy, there are some top-end models that are afforded great versatility through their larger ranges of measurement. For instance, the Mitutoyo 500-196-30 is capable of taking measurements between zero and six inches. Prior to purchasing, make sure the instrument in question has a range of measurement that’s suitable for your needs.
Connectivity: As computation via software becomes an increasingly prevalent part of a machinist’s job, several devices in this category have incorporated USB connectivity into their designs, allowing users to upload measurements straight into their preferred program. Both of our selections from iGaging are capable of USB connectivity, but be warned: it’ll require a separately purchased specialty cable.
Weatherproofing: With many of these instruments destined for a life at work in dusty shop spaces filled with motor oil and harmful chemicals, a weatherproof construction definitely isn’t the worst idea. Two options with notable dust and water resistances are the iGaging Absolute Origin – which features an IP54 rating, and the Mitutoyo 293-340-30 – which features an impressive IP65 rating.
Special Honors
ITM Instruments This company keeps an impressive selection of metering equipment and measuring instruments on hand. Their prices, which are competitive to begin with, are often further marked down for sales, and their staff can be quite helpful, although they aren't the fastest at replying to email inquiries. itm.com
Direct Industry Large Diameter Instruments Looking for something with a bit of a bigger measuring range? This company offers several models that you might be interested in; the largest of which can clamp down on samples that measure more than 32 feet in diameter. directindustry.com
Engineering Precision On A Small Scale
Located at the end of the tool's handle, the ratchet is responsible for limiting the applied pressure from the spindle to ensure it doesn't grip the object too tightly.
Modern conveniences are oftentimes things we underestimate or take for granted when we're so used to their normal operation. When opening a refrigerator door, for example, the expectations are that the light comes on inside and that the food contained on its shelves will be cold. We don't necessarily contemplate the dimensions of the fridge's components or why they've been shaped a certain way.
It's easy to overlook the amount of engineering involved in the construction of such appliances. However, without careful measurements and consideration for the size of small components, appliances like the fridge wouldn't be able to do their jobs adequately. When it comes to mechanical engineering and the machining of small parts that require precise measurements, a tool like a micrometer will be able to deliver a significantly higher level of accuracy than an ordinary tape measure or ruler alone.
Similar in design and application to a caliper, the micrometer (also known as a micrometer screw gauge) is a tool that measures the depth, length and thickness of very small objects, depending on the type being used. Examples of the tool's application include measuring the thickness of a sheet of paper, a wire, the diameter of a hole, the length of a screw's surface, or the depth of a slot on a piece of metal.
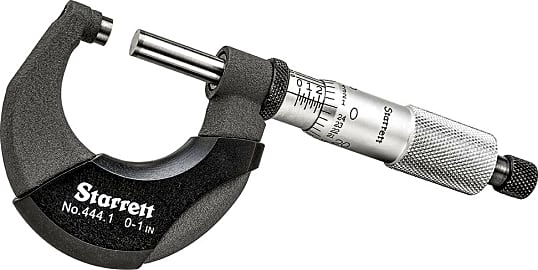
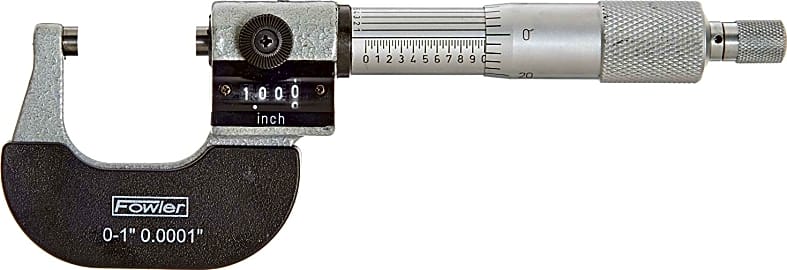
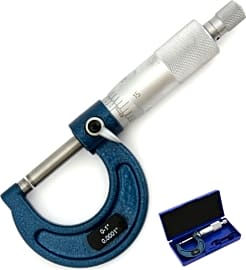
A typical micrometer has a series of both stationary and moving components. The tool's thick, C-shaped frame contains all of the non-moving components, including the anvil, lock nut, and sleeve, while the mobile components consist of a thimble, spindle, and ratchet. In order to take accurate measurements, an object must first be placed between a micrometer's anvil and spindle. The thimble is then spun in one direction, moving the spindle either closer to or farther away from the anvil until an object has been gently pinched between the anvil and spindle faces. The lock nut prevents the spindle from turning. The sleeve is equipped with internal threads that allow the spindle to move, as well as a linear scale that will determine an object's measurements. Located at the end of the tool's handle, the ratchet is responsible for limiting the applied pressure from the spindle to ensure it doesn't grip the object too tightly.
Versatility is one of the tool's major benefits, particularly if it's a specialized micrometer that comes with interchangeable anvils or other components. Why is its level of precision so important? Because many everyday objects require a certain type of construction, thickness, or evenness throughout, the micrometer has been specifically-designed to detect these measurements to ensure a high level of accuracy when manufacturing small parts.
Making The Most Out Of A Micrometer
There are several practical considerations to keep in mind when investing in a micrometer to meet your needs, one of the most important being the tool's durability. The anvil should be made out of either hardened steel or carbide. Both materials are good for use in abrasive industrial environments and will stand up to years of heavy use. Insulated frames that resist excess body heat will also come in handy when trying to ensure measurement accuracy. A solution with extra padding can prevent the tool's components from expanding or contracting over time.
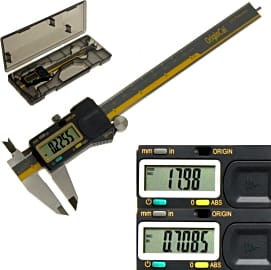
When precise readings are important in your line of work, spring for an option that includes an LCD screen. Aside from making measurements easy to see, the addition of a digital display will also help improve overall accuracy, particularly when it is equipped with a zeroing out function. A zero function allows the tool to automatically calculate differences between measurements, minimizing the need to work out those differences in your head or with a calculator. The inclusion of a digital readout is often accompanied by an instant unit conversion function that makes it easy to change between metric and Imperial measurements.
Depending on your trade, a specialized micrometer can come in handy when working with a variety of different objects of varying depths and thicknesses. One with interchangeable anvils, for example, will allow you to adjust the tool accordingly without having to purchase several types.
Measurement And Innovation Through The Ages
The evolution of the micrometer has a rich and deep-rooted history in terms of human innovation as it relates to the building of various objects. The concept of measurement in terms of machining and engineering dates back to the construction of the pyramids of ancient Egypt. Although the principle of screw threads was utilized by the Greeks to raise water from one elevation to another, it was not used for measurement purposes until the 17th century.
By 1639, Gascoigne invented the caliper micrometer, which consisted of a rotating handle attached to the end of a threaded rod that was itself connected to a movable jaw.
In 1638, English astronomer William Gascoigne used the concept of threads to measure the distance between stars by finely adjusting the screw threads of his telescope. By 1639, Gascoigne invented the caliper micrometer, which consisted of a rotating handle attached to the end of a threaded rod that was itself connected to a movable jaw. Measurements on this device were recorded by counting the number of revolutions the handle would make against an attached disc.
British inventor Henry Maudslay developed one of the first tabletop micrometers by the early 19th century, referred to as the Lord Chancellor, which marked the beginning of precision measuring instruments. In 1848, French inventor Jean Laurent Palmer received a patent for the first handheld micrometer called the System Palmer, known for its U-shaped frame after which many of today's micrometers have been modeled. By the end of the 19th century, micrometers were being mass-produced and used in machine shops in an effort to improve product quality by means of measurement accuracy during the manufacturing process.
Mitutoyo founder Yehan Numata is widely credited with the release of the first commercially-available micrometer in 1937, followed by an increase in production demand for the tool by 1941 for the war effort. The measuring range for the micrometer increased significantly by 1953.
Today's micrometers are available in standard and specialized types to meet the needs of any machining task.


